In the previous blog we learned to prepare hosting and servers for the WordPress website with a step by step guide. In this section we will learn to install a WordPress theme. One of the most important things you need to do after setting up the website development is to pick up a theme. The themes are interchangeable designs that will give a face to your brand website, portfolio, or ecommerce platform. You have the potential to change the way your website looks in just one click! When you have created your WordPress builder, the default theme and the look of the website will be something like the image below:

You can then choose the desired theme for your WordPress website. Let’s say, for instance; you picked the free theme named Hestia, your WordPress website will look something like the next image below:
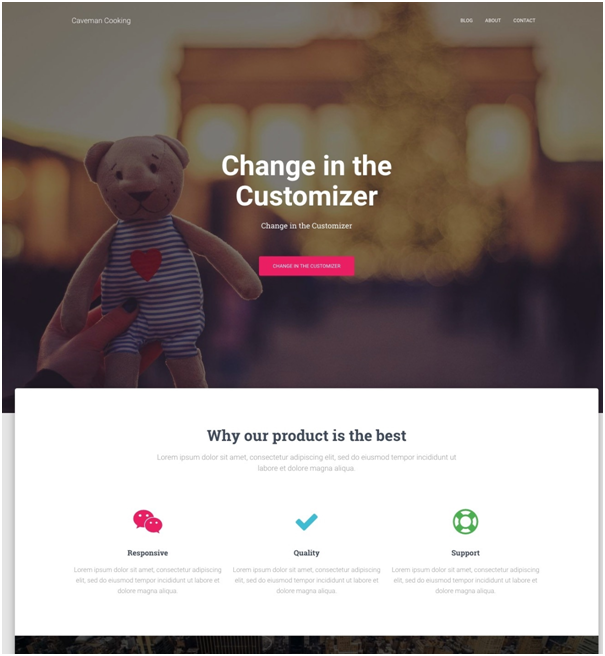
Adapt the Diverse Theme Options!
This is just an optional theme that is not mandatory for you to pick! You can pick the desirable theme that you think would fit best for the type of website you want. The WordPress themes available within this web development service are excellent design packages. They define how the website would send a message to the target audience.
You can install these themes quickly and change them anytime in the future when you want. The detail that you should keep in mind is, changing the theme doesn’t change the contents on your website but will only change the presentation. You might need to make some placement changes to the headers and footers to match the theme layout. Apart from that, all of the contents remain the same.
You can check out the official portal to explore the theme options you have out there. You will need a whole day to figure out the best amongst them all. Not just that, but you can also get along with the third-party websites that offer free WordPress themes. You can integrate them into your website without any charges. If you are ready to pay for a theme, the window just expands to the next level. If you are stuck are a step, lookup for a web developer near me and take the expert’s help.
Process of Installing the Theme
Assuming that the theme you chose is available within the official WordPress directory. Now, here are the steps that you need to take to install the theme to your WordPress website:
- Go to the ‘Appearance’ section from the menu and click on ‘Themes’ from the dashboard. Now, click on ‘Add New.’
- Search for the theme’s name that you want to add to your website. You will find the theme displayed underneath the search results.
- When you find the one you were looking for, just click on install, written under the desired theme. If you want to preview it first, select the ‘Preview’ tab.
- It will take a second, and the theme will be installed.
- After installation, you need to click on the ‘Activate’ button to completely enable the theme for your website.
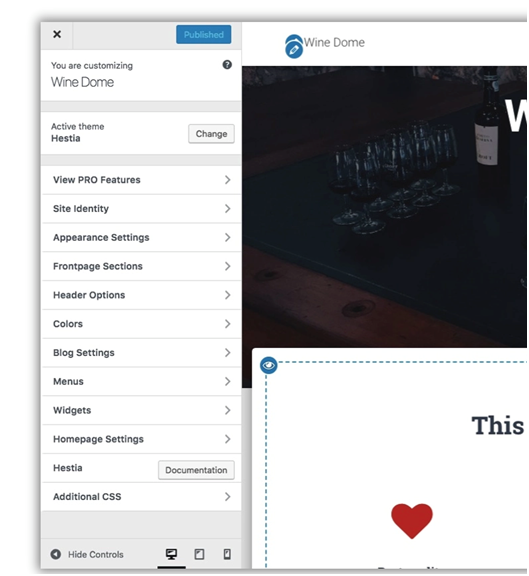
- Now, go back to the ‘Appearance’ section and select ‘Customize.’
- You will be redirected to the WordPress customizer for the next process in setting up the WordPress website.
Hence, you are now halfway done with creating your WordPress website. The final thing you need to do is Hence, you are now halfway done with creating your WordPress website. The final thing you need to do is obtain a landing page or home page for the website. The theme will give just the look of your website, but customizing the homepage will make you convert the traffic into sales.
Feel free to contact us any time at info@symphony-software.com or 414-218-4644.