
A long time ago, setting up a payment method for online store was very complicated. But nowadays, it has become very easy to set up payment methods thanks to payment providers like PayPal and Stripe. In this blog, we will focus on both of these online payment processing platforms.
So, let us get started:
Why Choose PayPal and Stripe

- Set up your account with them very quickly and for free
- Effectively take care of everything for credit card payments
- Eliminate the process of creating a merchant account, which often needs you to visit the bank and go through a validation procedure.
So, you can get up and run very quickly. These are the reasons why PayPal and Stripe are the two most popular payment methods for eCommerce stores.
The Challenge
There are some countries where PayPal and Stripe are not available. In this case, choose the most reliable alternative to these payment method providers. Look for a popular online payment service provider in your country of origin. But if you’ve got access, then PayPal and Stripe should be your top choices.
Enabling PayPal on your Ecommerce Store for Payment Method
To use PayPal, you need to sign up for an account which is as simple as entering an email. This will give you a PayPal account into which your money will flow.

Step 2: You have to transfer that money from your PayPal account to your business account.
Now, coming to the main point, let us explain how to integrate your new PayPal account with your store.
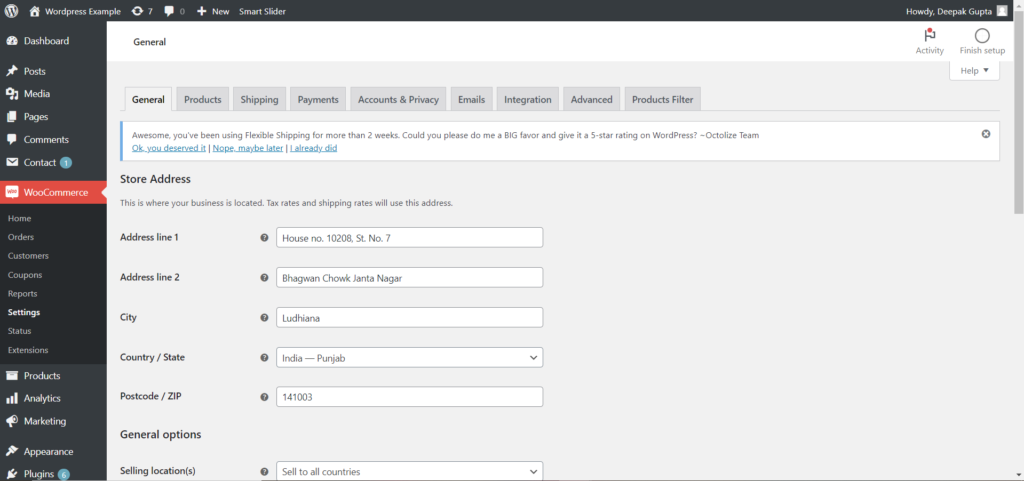
Step 3: Head over to the dashboard and go to WooCommerce Settings.
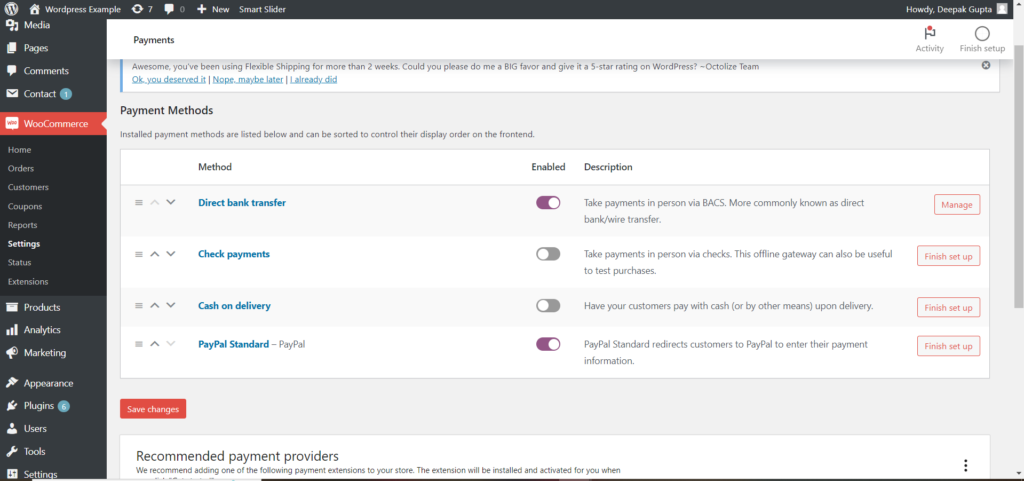
Step 4: Go to the Checkout tab, and you will see various checkout options across the top. We encourage you to select PayPal Express Checkout to enable people to pay on your site even if they don’t have a PayPal account.
So, they are not forced to pay using a PayPal account. Instead, they can pay by credit card (all major credit cards). So, your customers can pay you really without any problems.
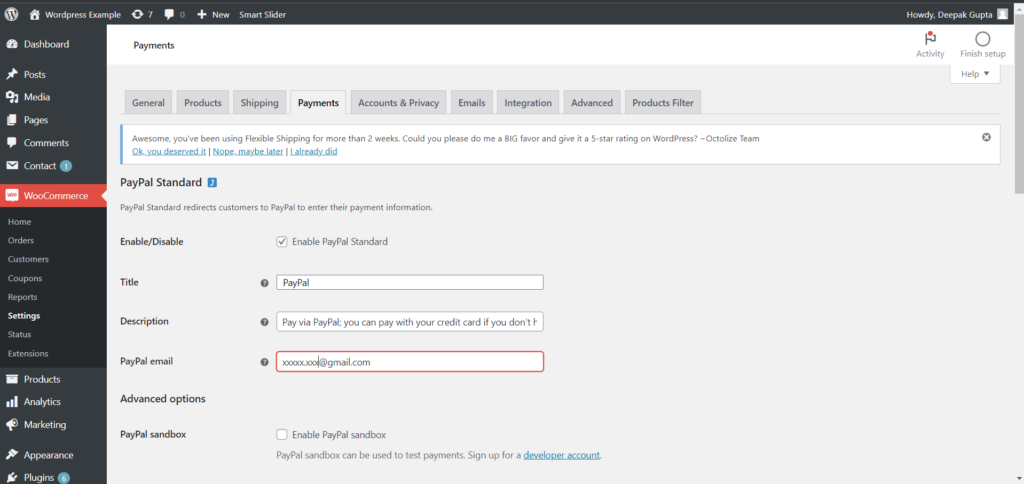
Step 5: To complete the setup, click on this blue button Set up or link an existing PayPal account.
You will be asked to log in to your PayPal account using your username and password on the following screen.
Step 6: Enter your email and password and click the Next button. You’ll see the following message on your screen:
WooCommerce Developers is requesting your authorization
Step 7: Click on the blue button “Yes, I authorize it.”
Step 8: Then click on Go Back to WooCommerce Developers. Then, click on THAT’S MY SITE – REDIRECT ME.
You will return to where we started from, with lots of stuff filled in by default.
Step 9: On the bottom, you will see a blue button, ‘Save Changes.’ Click on it, and you are good to go.
So, if a customer has a PayPal account, they can pay via their PayPal account. Otherwise, they will have the option to pay by credit card normally.
Now, you have a PayPal account, enabling your customers to pay with any credit card. In addition, you can now accept PayPal payments on your eCommerce store.
Enabling Stripe as a Payment Method for Online Store
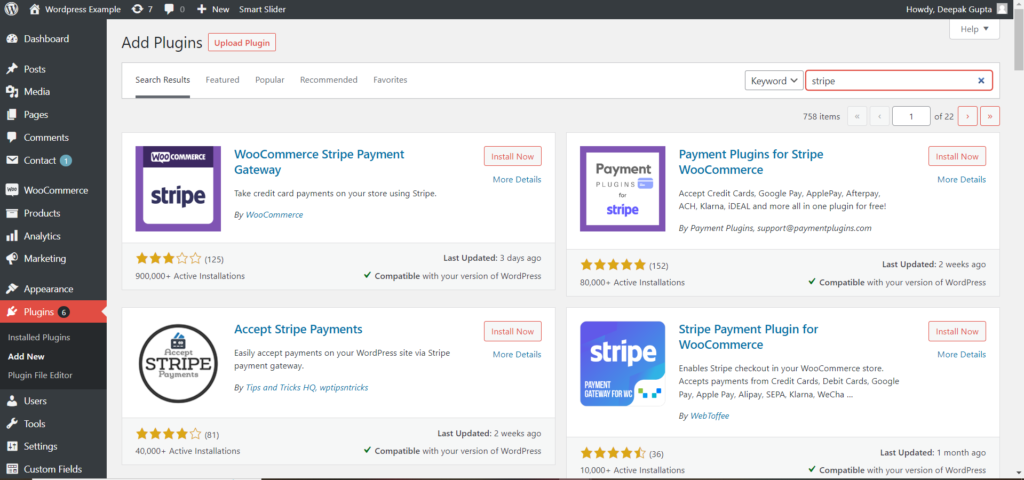
Stripe is the second very popular and easy-to-install payment provider on our list. First, you must create a free Stripe account and plug it in on your site to start accepting payments through this payment processing platform.
Setting up Stripe for your eCommerce store is the same as with PayPal. Here is the process for this payment method:
Step 1: In the list of checkout options, you will see Stripe as the last option. Click on that.
Step 2: Tick off Enable Strip. Then scroll down and tick off the Test Mode. Next, you will see two fields – Live Publishable Key and Live Secret Key. Both are strings of numbers and letters that are basically meaningless.
You will find those on your Stripe dashboard when you sign up.
Step 3: Next, log in to your Stripe dashboard, and click on API in the menu. On the following screen, you will see API keys – one of them is Publishable, and the other one is Secret.
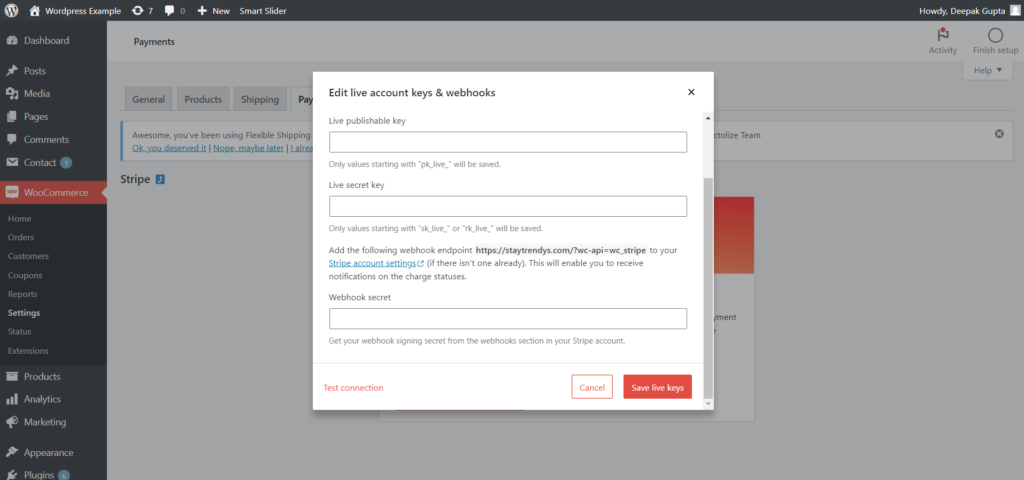
Step 4: Copy the Publishable key and paste it into the Live Publishable Key field in WooCommerce settings. Do the same for the Live Secret Key.
Step 5: Finally, click on the Save Changes button at the bottom.
Stripe is activated, and you’re ready to accept payments via Credit Card (Stripe) on your eCommerce store.
In the end, you will have two extremely powerful and secure payment methods for online store.
While the process seems easy to DIY, it always helps to take professional help to set up your eCommerce store, from deciding themes to set up payment gateways. At Symphony Software, we can set up your online store from start to finish. Our eCommerce development experts will select the best payment method for your website and set it up like a pro.
So, contact us for any help with your eCommerce store or custom software development.