When you order something on an eCommerce website, you will be asked to create an account at some point. The following image shows the example:
Customer accounts enable customers to have their own accounts in your store. By creating an account, users do not need to enter their billing details every time they order something on your site. Instead, they simply enter their username and password, choose products and place the order.
With customer accounts facilitated on your eCommerce store, you can also track your buyer’s behavior and manage their accounts. This includes upselling, disabling their accounts if needed, etc.
Benefits of Customer Accounts for Buyers
- See and track orders
- Save your payment details
- Change billing and shipping addresses
- Edit account details, including password, address, etc.
Benefits of Customer Accounts for Store Owners
- Increase customer retention
- Increase customer loyalty
- Make your customers feel connected to your brand
So, the customer account is one of the essential pages for eCommerce stores.
How to Configure eCommerce Customer Account
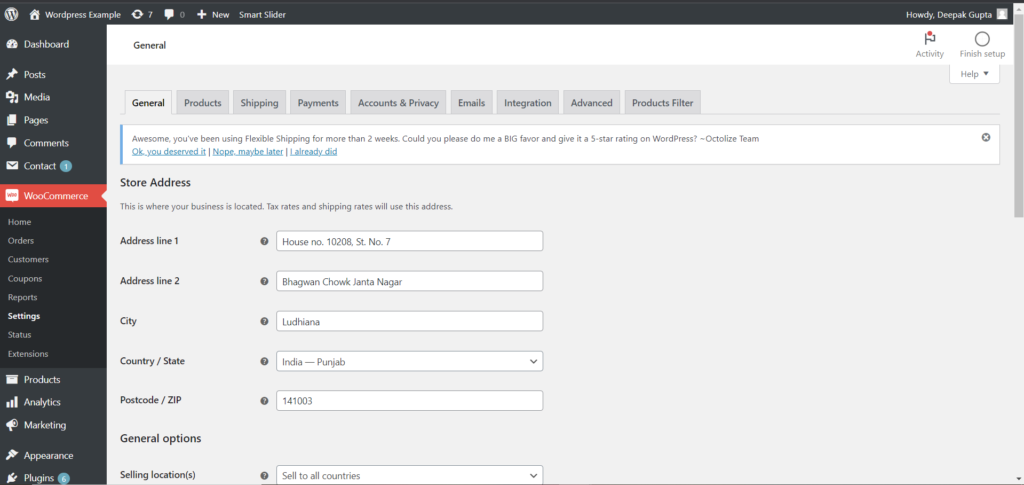
Step 1: Go to WooCommerce > Settings
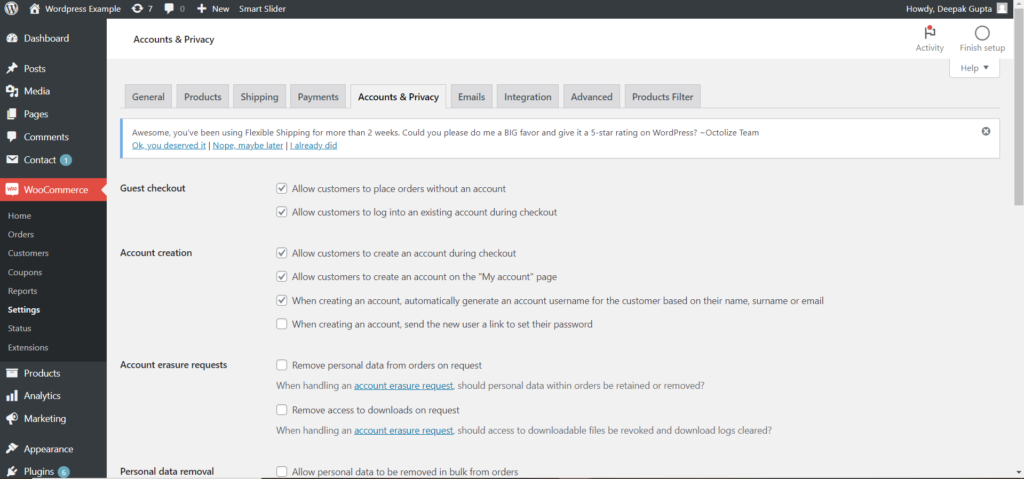
Step 2: Click on the Accounts tab. This is where you will control everything.

Step 3: Remove downloads if this is irrelevant. Just remove the word ‘downloads’ so the respective field is blank.
Step 4: Scroll down and click on Save Changes.
The rest of the account settings are self-explanatory. Key fields you will see in the Accounts tab are:
- My account page
- Customer registration: Enable it on the checkout page. You can also enable customer registration on the My Account page. This will allow shoppers an opportunity to create an account at that point.
- Login: Tick Display Returning Customer Login Reminder on the Checkout Page.
Moreover, you may or may not display the View Cart and/or Checkout option on the My Account page. To do this:
Step 5: Go back to the admin and come down to Pages.
Step 6: Click on All Pages, and then Quick Edit the My Account page. On the following screen, you will see the template for the My Account Page.

Step 7: Select Full Width and click on Update.
Follow a similar process to hide other parameters on the My Account view of your customer account. Also, make sure you add relevant call-to-action for high conversion. For example, create your account now, sign up today, sign up for discounts in the future, etc. This will prompt people to register with your site.
Customer Account Vs. Guest Checkout
As you see, providing customer accounts can be beneficial for your store. But make sure you also provide guest checkout, which is critical for first-time shoppers on your site. This is because many customers do not feel comfortable saving their account details during their first visit to a new website.
As you see in the above example, Sephora lets you checkout with shipped items without signing in or creating your account.
Not providing guest checkout is like you are forcing customers to sign up for an account on your website. So, this can lead to decreased conversion rates. Checking out as a guest is faster than creating a customer account. So, people find it easier if they are new to your online store.
But guest checkouts have drawbacks for store owners. You have fewer details about your customers, which can hinder your marketing efforts. You cannot send customers promotional materials, newsletters, etc. Moreover, you cannot ask for shoppers’ feedback to make necessary improvements.
Final Words
Both customer accounts and guest checkout are vital for your online store. So, provide both options to shoppers to ensure customer retention, increased conversion rate, and avoid bounce rate.
Are you having trouble setting up your customer account page? Are you looking for professional help with this? Call Symphony Software for expert eCommerce developers who can customize your customer account page.
