You should not ignore the home page when creating an eCommerce store. It is one of the important aspects of any online store that attracts and creates interest in people in your services or products.
Learn how to create an effective and impressive Home page for an eCommerce site.
How to Add a Home Page to an eCommerce Store
By following these steps, you can create an impressive homepage for your website or online store.
Step 1: Go to the Dashboard of the WordPress website and click on “Pages” from the left sidebar.
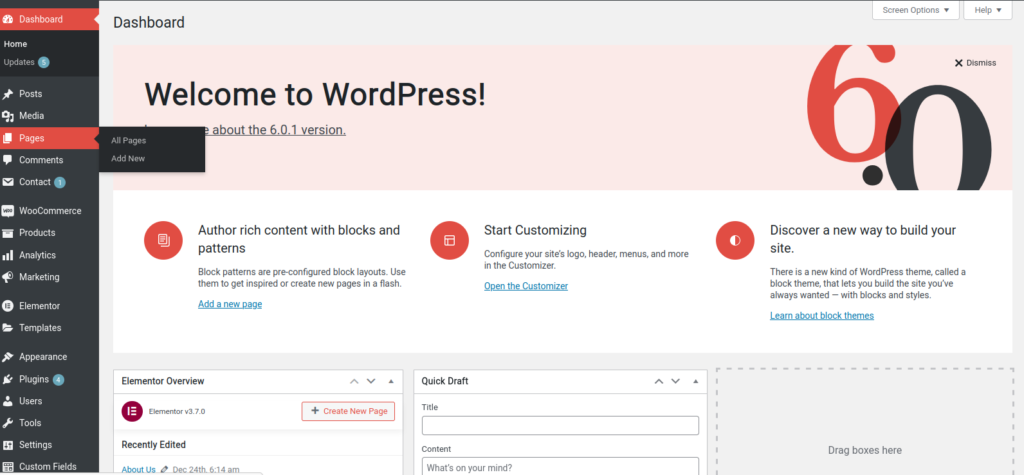
Step 2: Click on “Add New” from the top left side to create a new page.
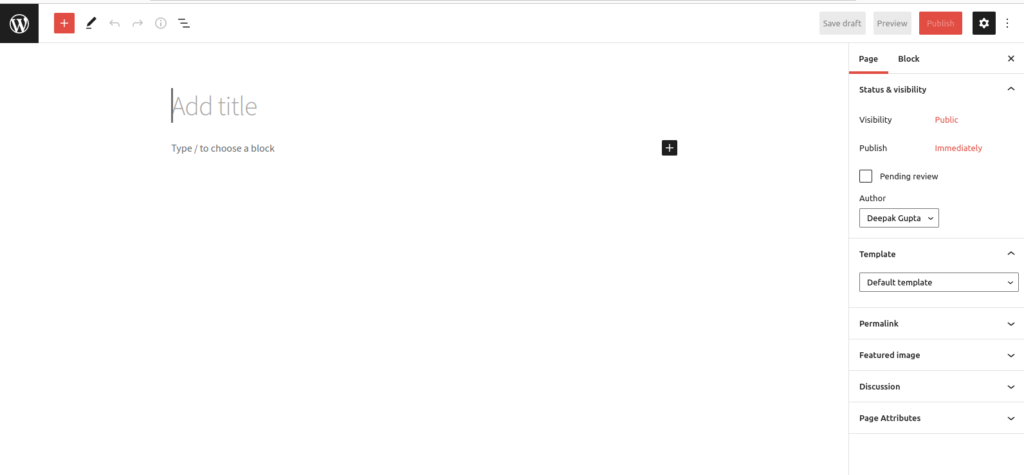
Step 3: You need to enter the page title, which will be “Home,” in this case.
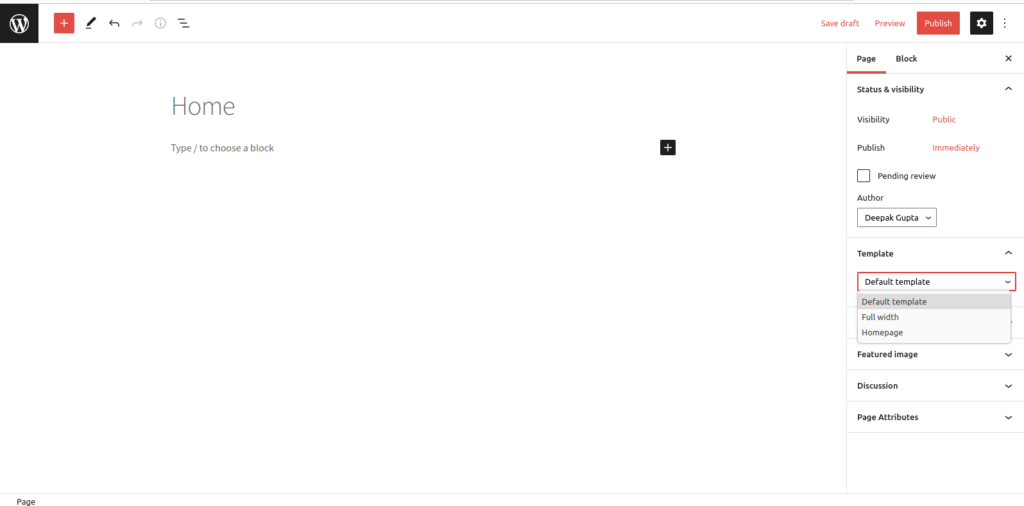
Step 4: Go to “Template” from the right sidebar and select “homepage .” After this, click on “Publish.”
Step 5: You must add the Home page to your menu by following the steps below.
How to Add Home Page to Menu eCommerce Store
Adding the home page to the menu is very important for an eCommerce website to make it visible at the front end. Here are the steps to add a home page to the menu or to edit the menu in WordPress for the home page:
Step 1: To add the “Home” page to the menu, go to Dashboard and select “Appearance.”
Step 2: Now, under “Appearance,” click on “Menu.”
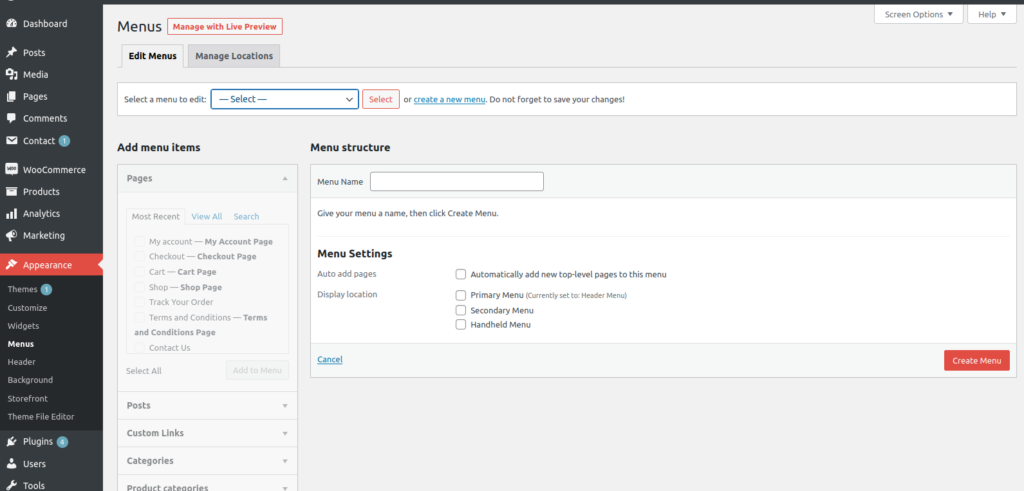
Step 3: On the next page, select “Home” and click on “Add to Menu.”
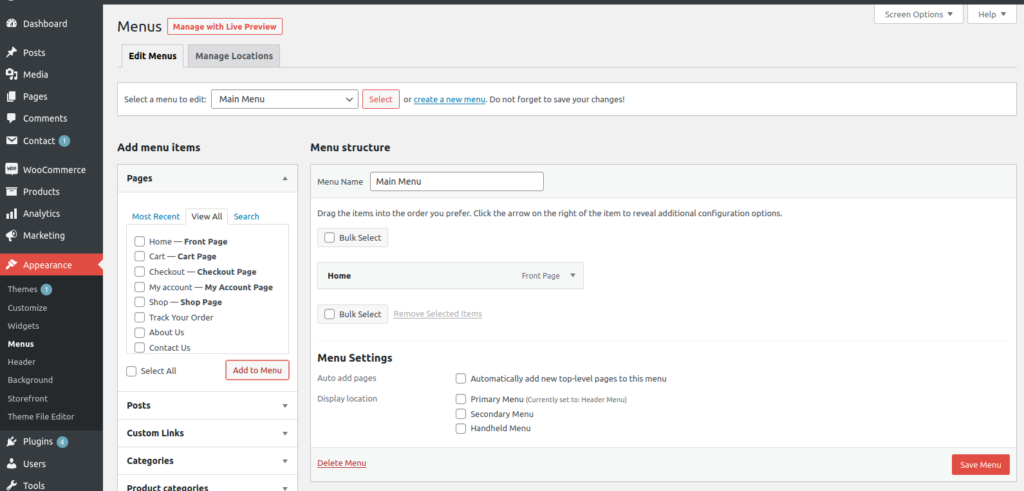
Step 4: Now, drag it up to the top to make the “Home” page appear first on the menu
In the end, click “Save Menu .”Next, you need to customize the Home page to make it more impressive.
Follow these steps to Customize the Home Page.
Step 1: Go to “Customize” from the left sidebar of the “Dashboard.”
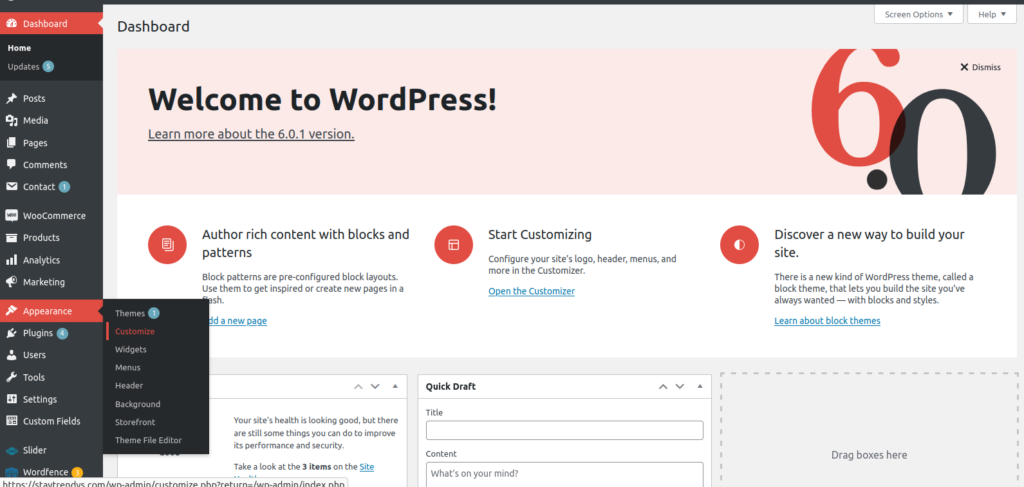
Step 2: Come down to “Static Front Page”
Step 3: From the drop-down options, choose the “static page.”
Step 4: Now, under the “Front Page” drop-down options, choose “Home .”Finally, click on “Save and then “Publish” it.
Next, know how to control the home page.
Guide to Control or Manage the Home Page of eCommerce website
For controlling the home page, there is a plugin called “Homepage Control .”Here are the steps to install and activate the plugin:
Step 1: Go to “Dashboard.”
Step 2: Click on “Plugins.”
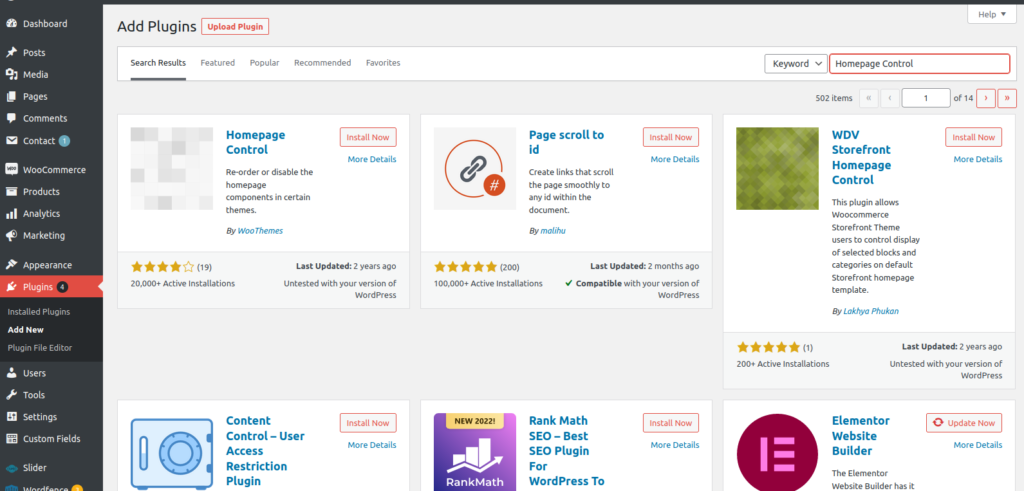
Step 3: Now, click on “Add New.”
Step 4: On the next page, search for the required plugin – Homepage Control.
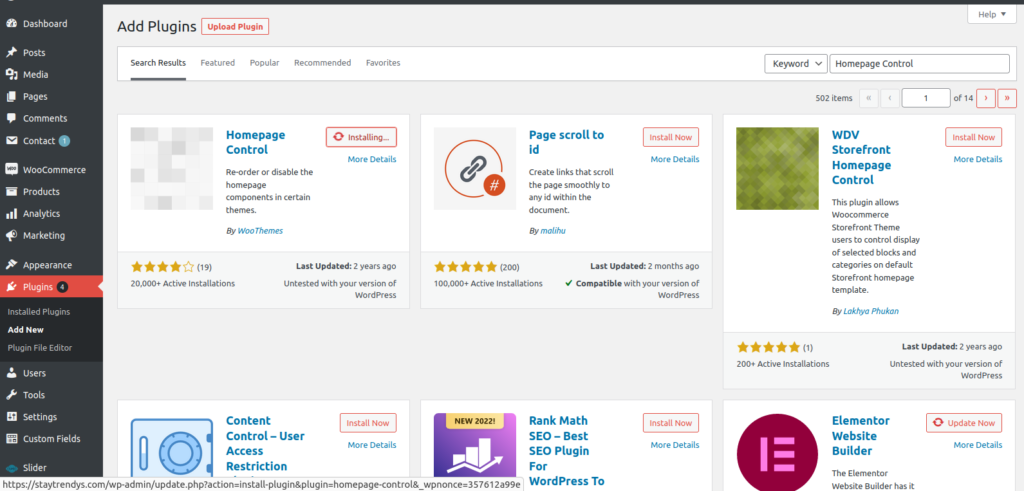
Step 5: Click on “Install” and “Activate.”
Step 6: Now, go back to Appearance > Customize.
Step 7: You can see the “Homepage Control plugin” on the left sidebar.
Step 8: Click on the “Homepage Control” to go to the next page. You can see Shop By Categories, New In, Popular Products, and many other sections here.

To remove anything that you don’t like, check them off.
Guide to Add Home Page Image Sliders on eCommerce Website
Image sliders can make the home page look more attractive and impressive. Visitors will love to navigate through other products looking at the variety in image sliders. Here are the steps to add an image slider on an eCommerce website.
Step 1: To add an image slider to the eCommerce website, install the plugin – Meta Slider.
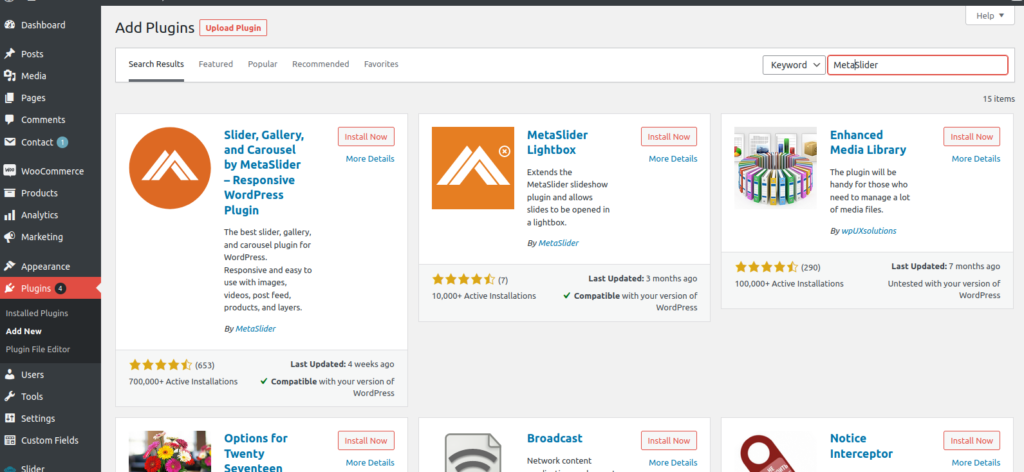
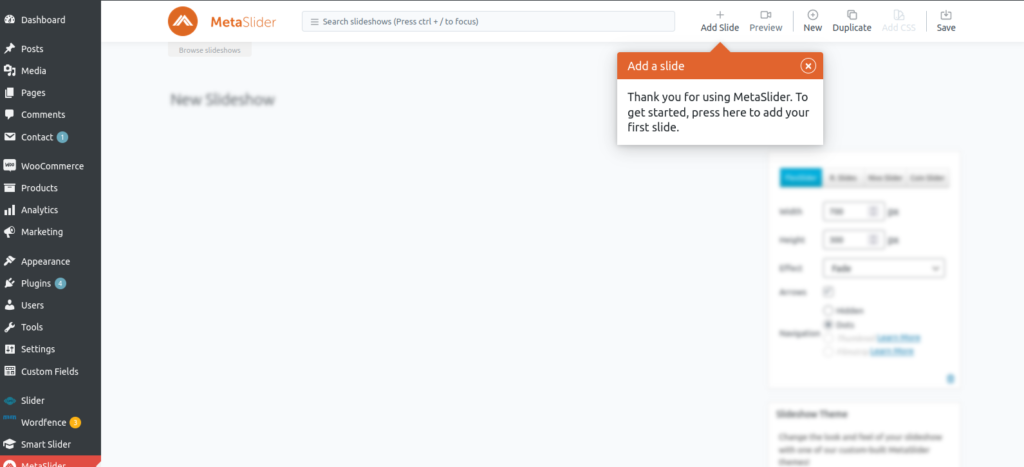
Step 2: Once you install and activate the plugin, you can see this plugin in the left sidebar of “Dashboard .”Click on it.

Step 3: On the next page, give a name to the page as the Home page.
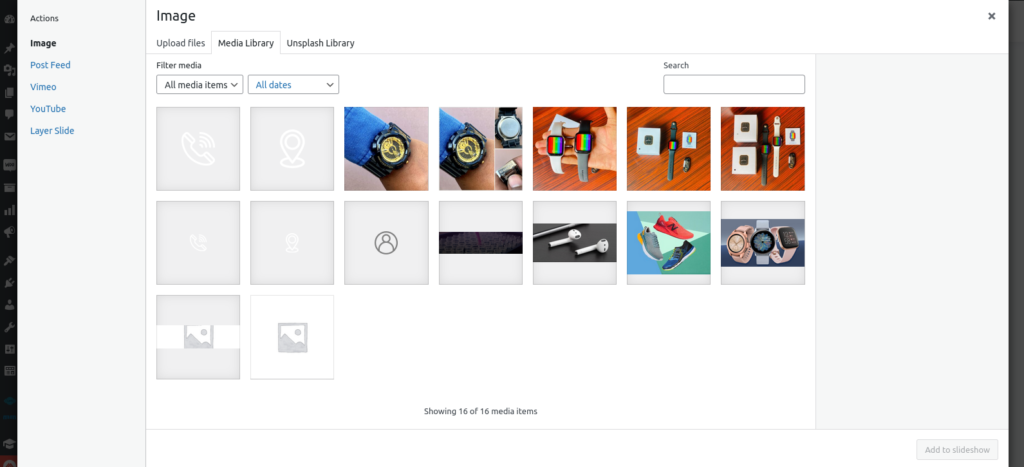
Step 4: Now click on “Add Slide” this will take you to your media folder.
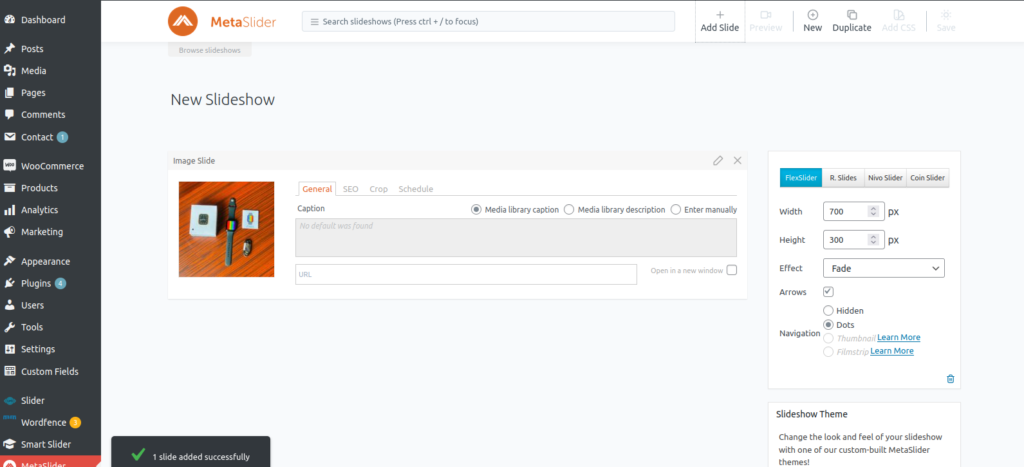
Step 5: Select the number of images from the media library and click “Add to Slide .”Next, you need to set the images in the appropriate size to all look even and good.
Step 6: Add captions and URLs of particular parts of your site if you want. Finally, click on “Save.”
Step 7: Next, go to Appearance and click on Editor
Step 8: Then, from the right sidebar, click on the “Theme functions”
Step 9: In the text part, add a code you can see in the screenshot at the end.
Guide To Building Product Pages For Your Online Store
Your eCommerce business is incomplete without product pages for your online store. Make sure you add all the products you sell on your eCommerce website. You should be very careful while adding them to your site. If you are unsure about adding quality products to create an impressive website design, then Symphony Software can help.
Keep reading to add the products on the WordPress website.
Plugin Needed to Add Products
To add products to your eCommerce website, you can use WooCommerce. It is one of the most popular WordPress plugins that helps you to add desired products to your site. Also, it is very easy to use and run an online store. You can check our article on “how to install WordPress plugins” to install WooCommerce.
Adding Products
Adding products is one of the basic functions of WooCommerce. You can not only add products but can also modify and delete them when needed. Following are the types of products to add to the online store:
- Simple products: These are the products with one size and one color variation. They cover the vast majority of products that you can sell, like a book.
- Variable products: These are products with variable shapes and colors. Also, they have different sizes, prices, and stock options, such as t-shirts, bedding, etc.
Step by Step Guide to Add a Simple Product
By following these steps, you can easily add simple products to the online store.:
- Go to Dashboard, and under WooCommerce, go to Products.

- On the new window, go to “Add Product.”
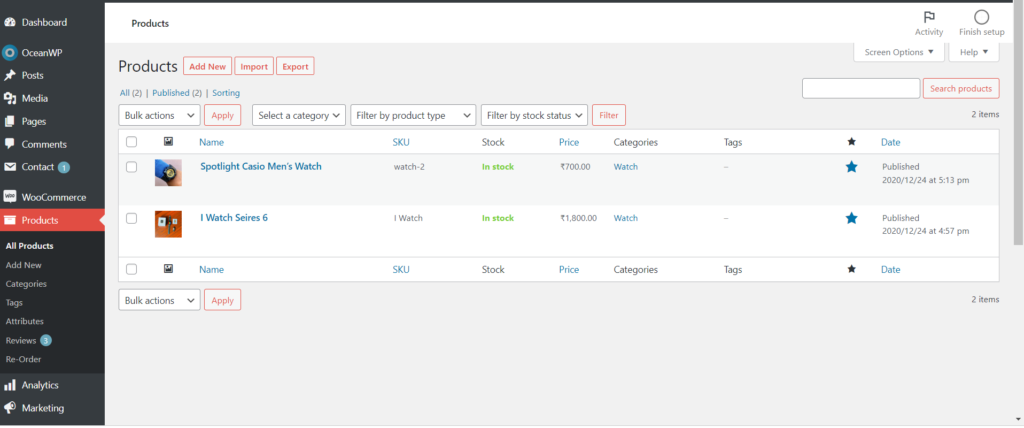
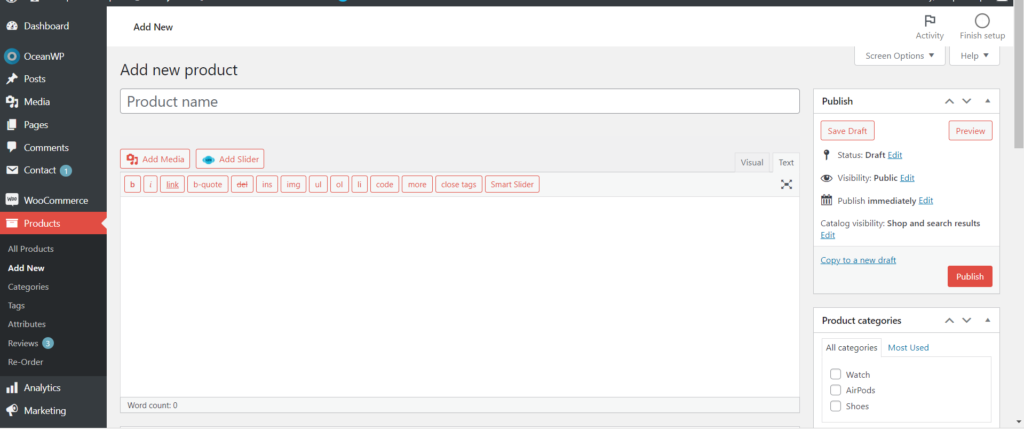
- Now enter a product title that should not be too descriptive but short and effective.
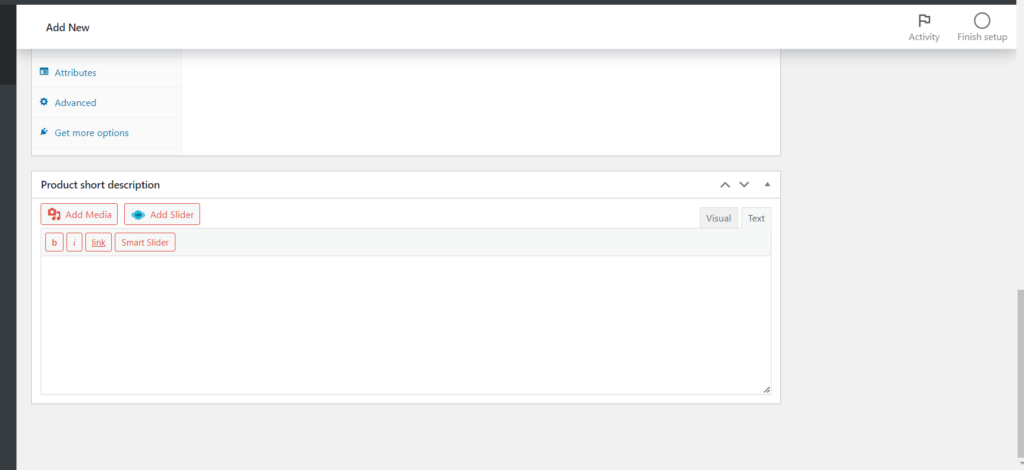
- After this, you need to enter the short product description.
Go to the Product data
From the top of the page, select “Product Data” . It is the meta box where you can add important data for your products.
Price
Fill in the regular price and sale price for your product. Also, fill out the tax status
Infantry
This section allows you to manage stock for the availability of your product. Also, you can define when the product can go back to order.
Shipping section
In the shipping section, you can add weight, dimensions, and shipping class for your products.
Add categories
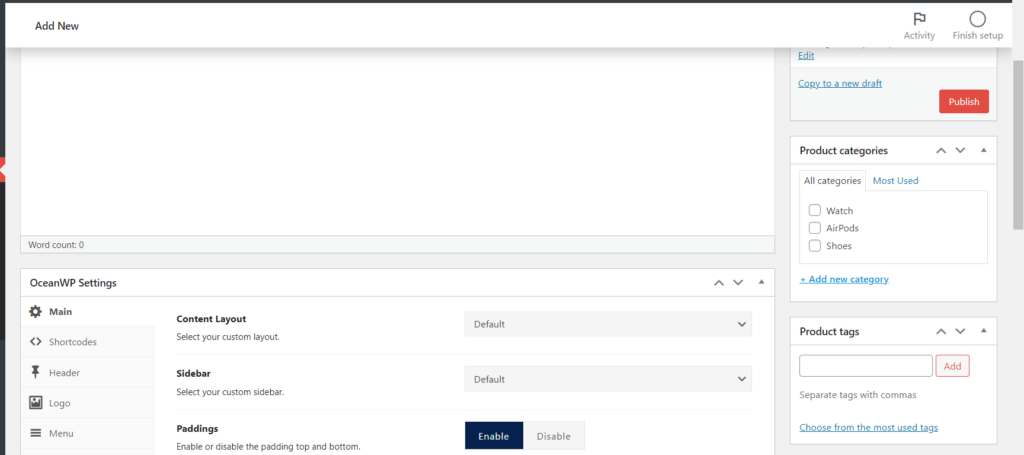
To the right side, you will see product categories. Choose one, for example, and you can choose the beds. You can also choose multiple categories.
Add images
- One of the important parts of any eCommerce website is the images.
- So, add a high-quality product image. To add the images, you can check how to edit the text in WordPress. This is a key element when building product pages for your online store.
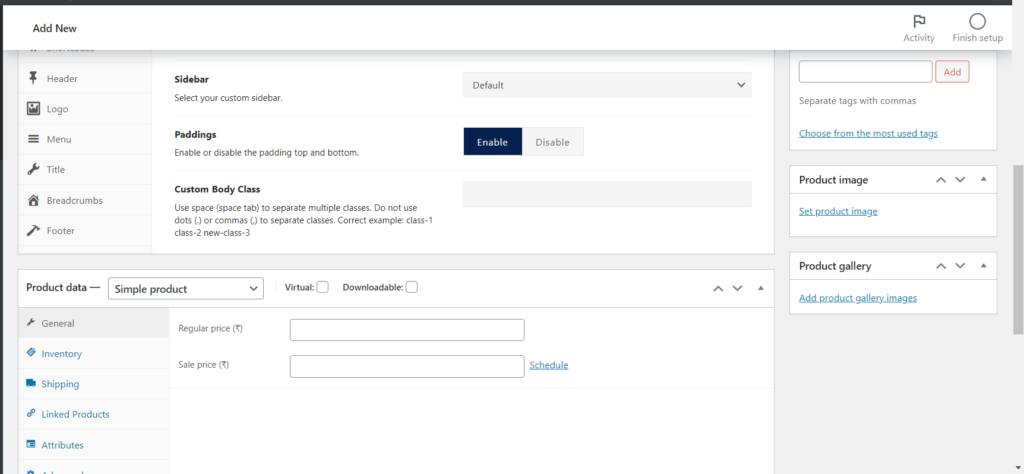
- After adding the product image, it is time to add the product gallery images.
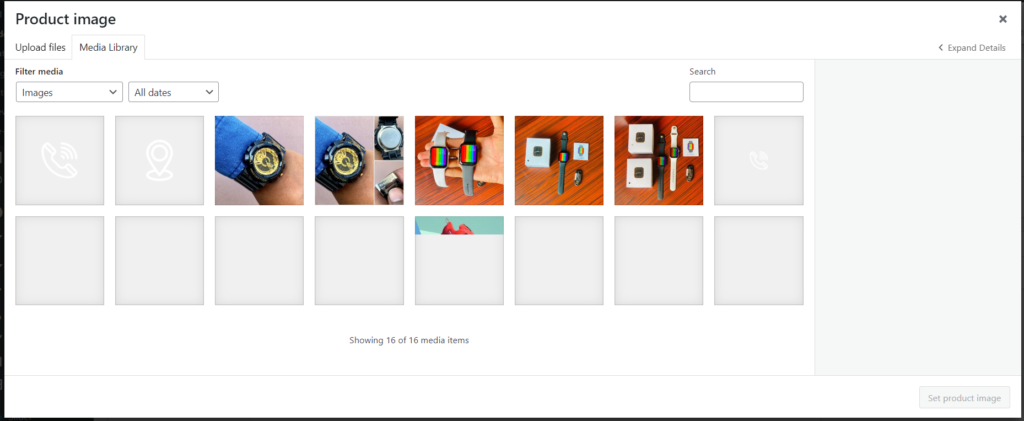
- After this, click on “Publish.”
Step by Step Guide to Add a Variable Product
- To add variable products go to Dashboard > go to products > add a new product
- Add title and a short description
- After this, add images by following the steps similar to the images for a simple product.
Product data
- Under product data, choose a variable product.
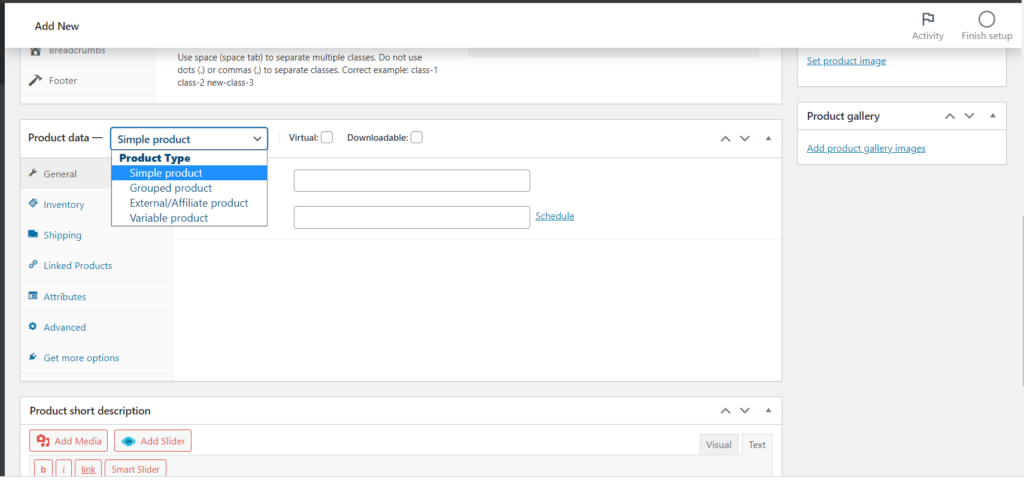
- After this, from the left side, choose attributes.
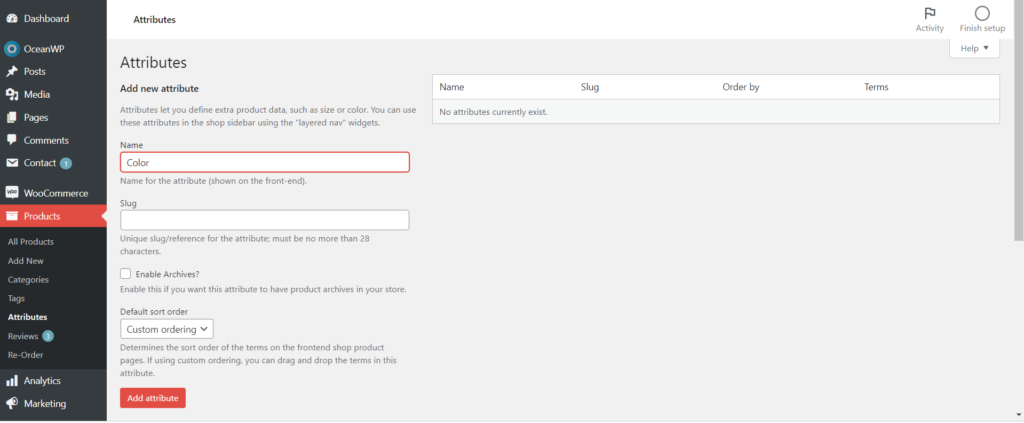
- Now, choose a custom product attribute.
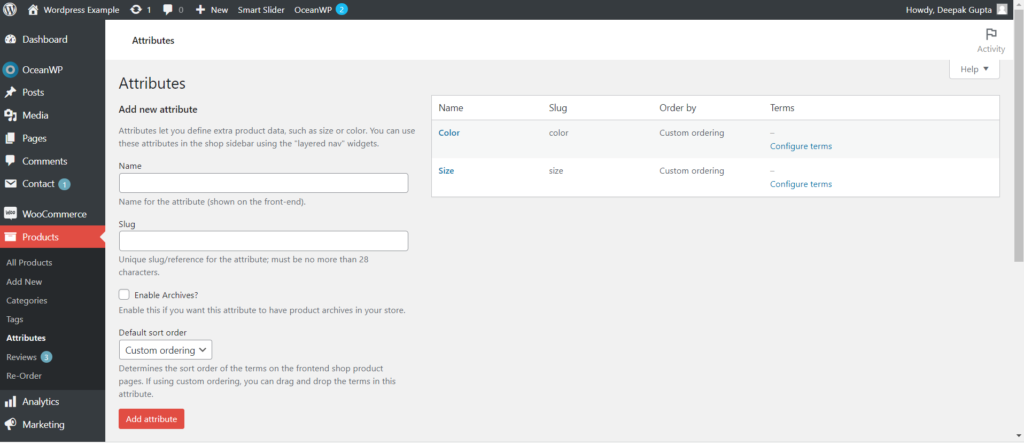
- Now, click add and give it a name like color, size, etc.
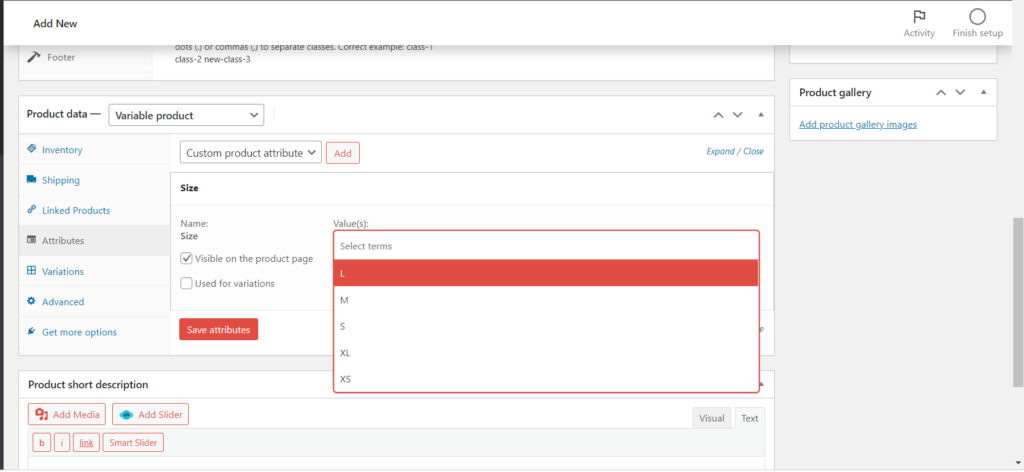
- In the text box, write colors of products like red/blue/green.
- After this, click on “Save Attributes.”
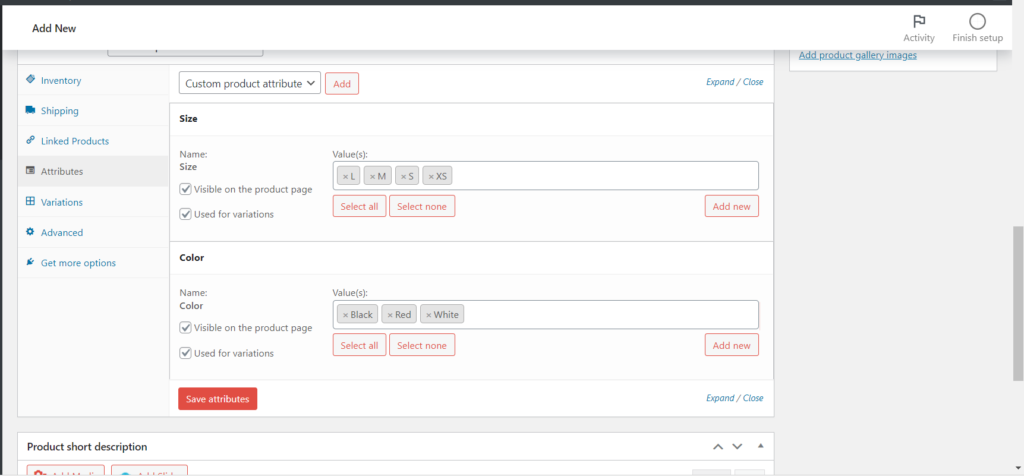
Go to variations
- Select custom variations from all attributes.
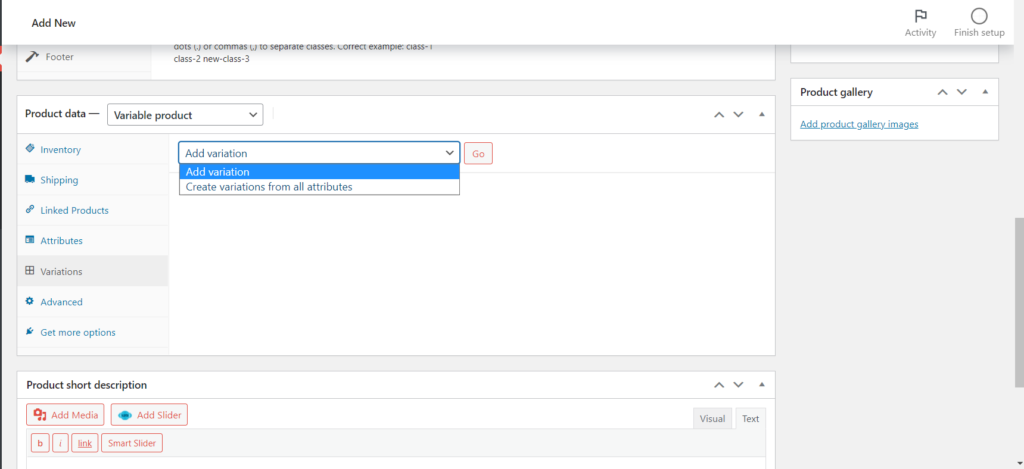
- Here you can see the number of variations based on the color you created in the attributes.
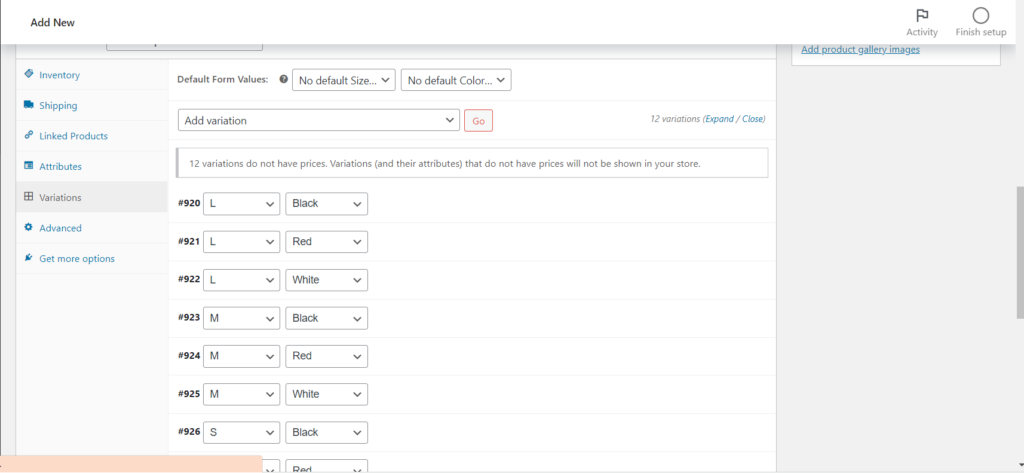
- Now you can enter descriptions for each variation separately.
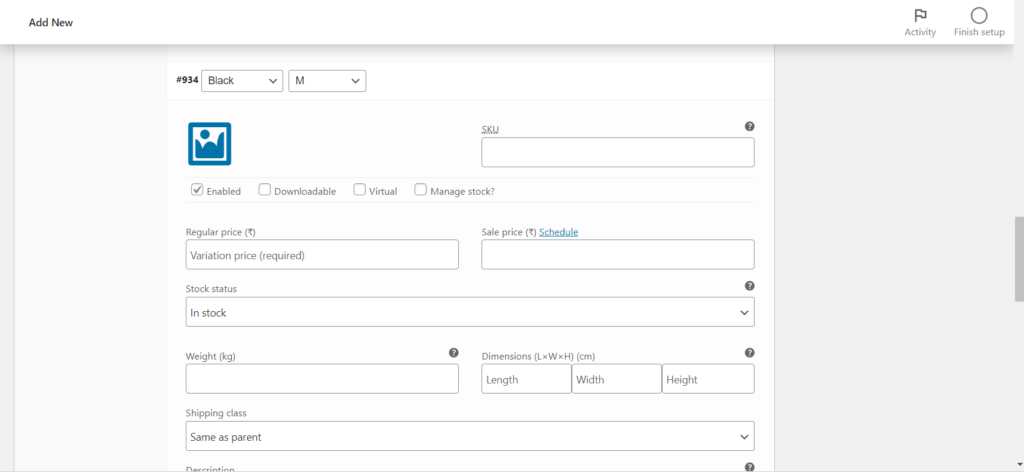
- Also, you can set variation images of product.
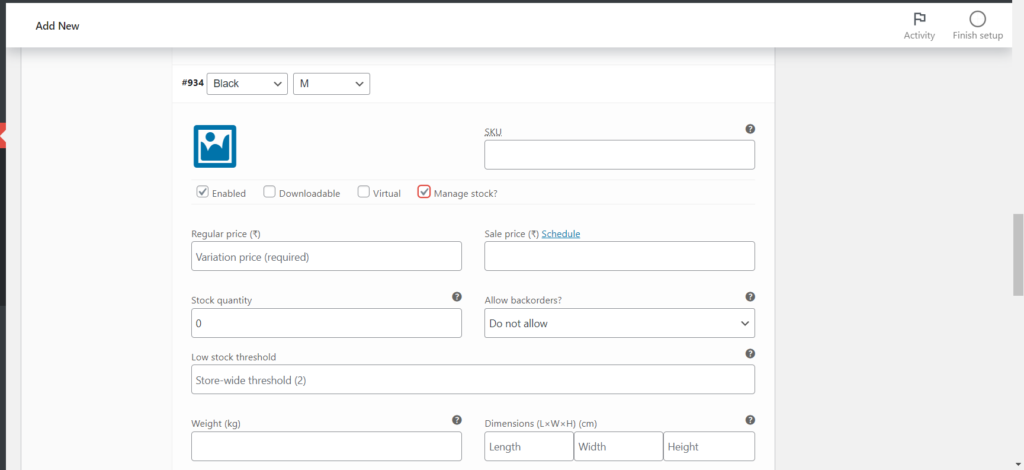
- Save changes and publish it.
In the end, it is important to create a responsive website, and a home, as well as a product page, is a must for an eCommerce store to increase revenue. You can follow the above-mentioned steps to create an impressive Home page for an eCommerce website.
