
Are you ready to build your first WordPress website? To create a website, you need web hosting. Often overlooked, it is one of the main components of any website. Selecting the best WordPress hosting can improve SEO and increase your reach as well as sales.
There are many types of web hosting solutions available to choose from: shared hosting, dedicated hosting, cloud hosting, and free hosting to name a few. In this article, we will help you to prepare hosting and servers for WordPress.
What are the Popular WordPress Hosting Options?
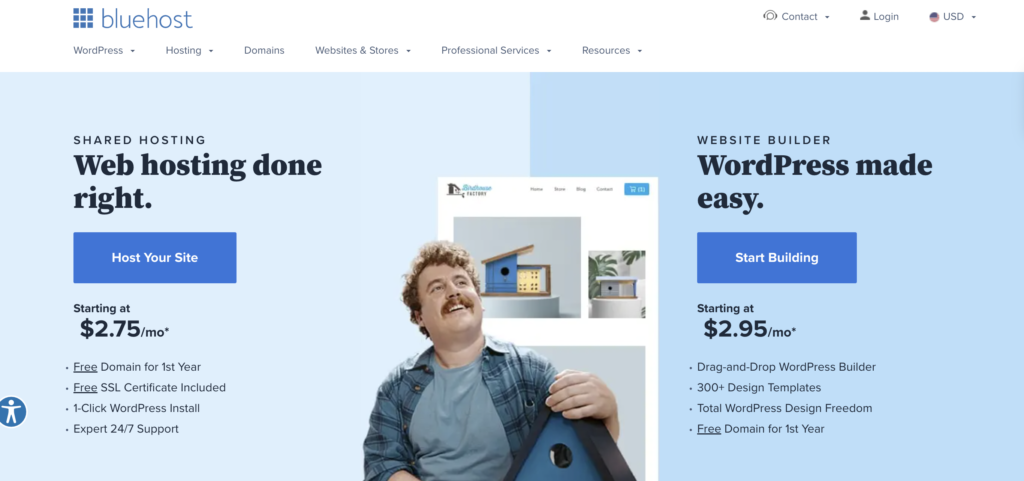
- Bluehost: Many industry leaders are using Bluehost to host a website, especially WordPress websites. In fact, it is the only host recommended officially by WordPress. It is very easy to easy and use as well. Bluehost’s basic plan offers automatic WordPress updates, unlimited traffic, 50 GB storage, and more.
- SiteGround: If you are looking for a managed hosting plan, SiteGround can be a good option. Its plans can be a little expensive, but it offers great features to host your website. SiteGround also informs you for security and website updates.
- Hostinger: Hostinger is another option for WordPress hosting. It is also equipped with amazing features and is easy to use. Even if you are creating a website for the first time, you can use it with ease.
In addition to these, there are many more WordPress hosting options and you can choose any according to your needs.
Steps to Prepare Hosting for WordPress
Let’s understand the WordPress hosting with Blueshot!
- First, open Bluehost in your browser
- Now, click “get started”
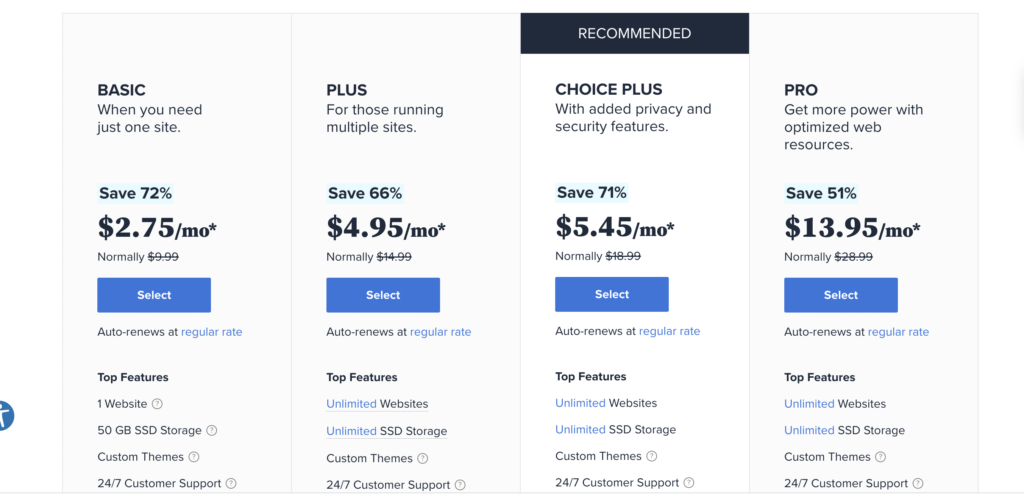
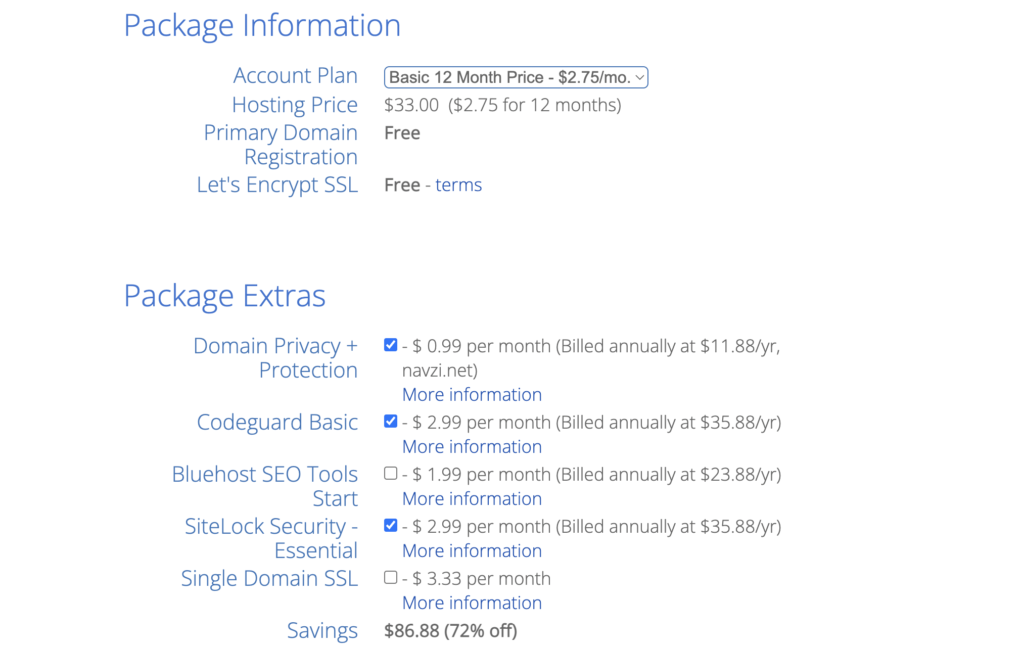
- You can see the plans to choose for hosting. Decide the plan and click on the “Choose Plan” button
- You can start with the cheapest website hosting plan – Basic. It’s only $2.95/month
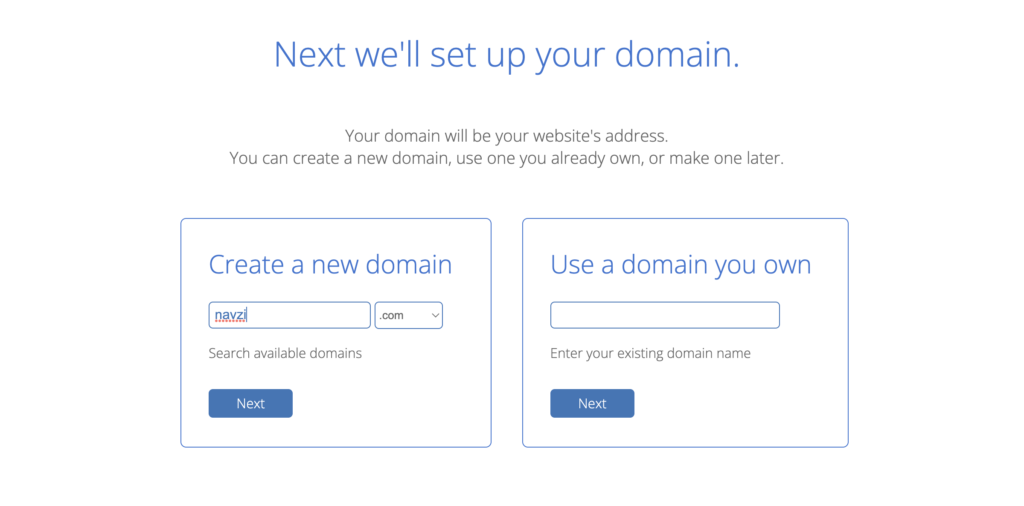
- In the next page, you need to enter the domain name. Here you can either choose the domain name from the options or can fill the one you already have. Make sure you choose extension like .com, .net, etc.
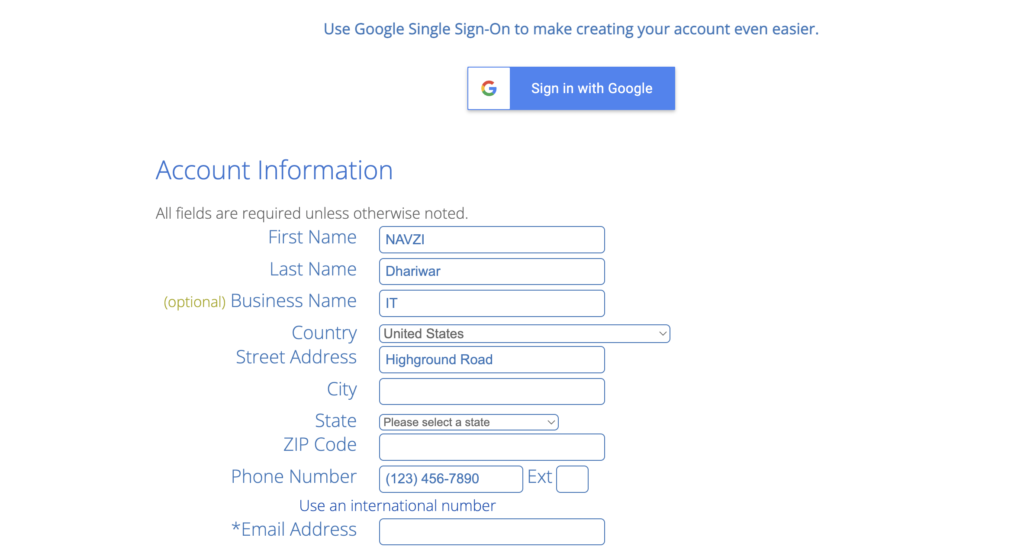
- After selecting the domain name, on the next page, provide the personal information, including name, date of birth, etc.
- Before continuing to the next page, do not forget to check and confirm the parameters of the hosting setup you selected.
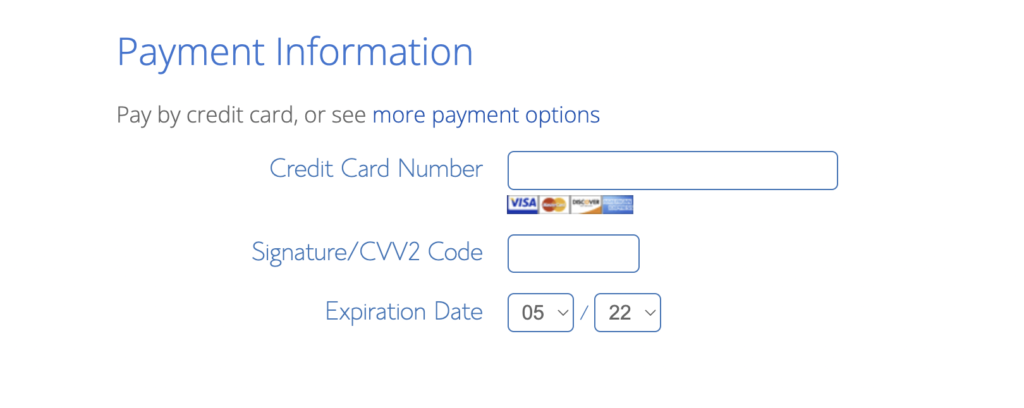
- Finally, you can click on “submit: and finalize your payments.
So, this is how you are able to get hosting for a WordPress website. No matter which hosting services you choose, the steps are almost the same.
Install WordPress Through Bluehost
Now, when your hosting setup is ready to use, it is time to install WordPress.
- Once you complete the signup process with a hosting site like Bluehost, you have received an email from them. The email should have the login details, including username and password.
- Now, you can either install WordPress through a hosting site, which is Bluehost in our case.
- All you need is the name of your new site and the username/password to manage WordPress.
Once you’ve completed the steps, your new website is installed and ready to use. Now, you can add blog posts to WordPress, new plugins, themes, etc.
Final Words
Choose the best hosting for WordPress to gain more sales and build an attractive website for your business. Setting up hosting is very easy, you only need to choose the domain name and fill in the required info. Lat, you need to make payments according to the plan you choose. If you want to take professional help to develop a website, then call Symphony Software. We are available to help you build a customized website according to your needs.